Clay Dragons Tutorial
 | Step 1: Acquire Oven Bake ClayI personally use Premo or Sculpey, but anything that can be baked works, really. Fimo has some cool textures, even if it smells kind of weird.You can find clay at a lot of craft stores like Michael's. It costs about $3 a package. MAKE SURE the clay is, in fact, oven-bake. It should say on the package. In this, I am using three colors--white, blue and silver. You can use however many you choose. I'd recommend 2 - 4. |
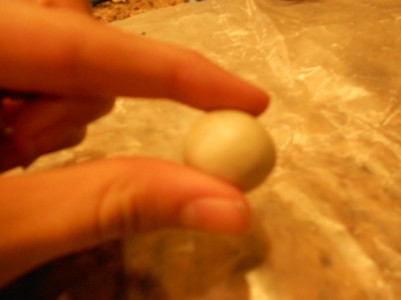 | Step 2: Make a Sphere Doesn't have to be perfect. |
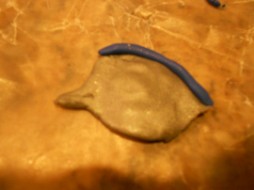
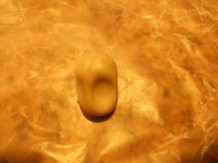 | Step 3: Pinch on all four sides to make a boxy kind of shape coming from the sphere; this will be the snout. |
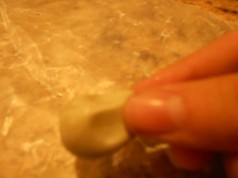 | Step 4 Pinch tip to make a sort of tiny 'beak' |
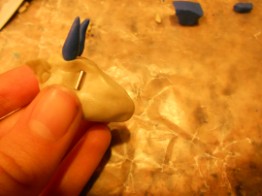
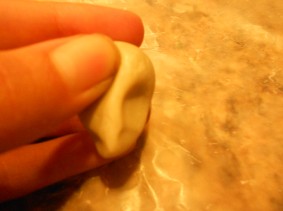 | Step 5 Make the indent a little sharper where the eyes will be.
|
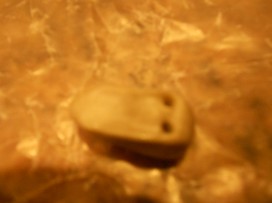 | Step 6 Use toothpick to make holes on top of the head. The horns will go in the holes. |
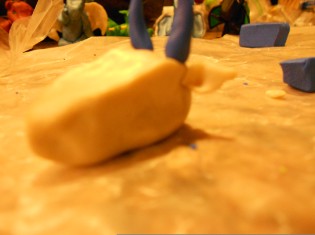
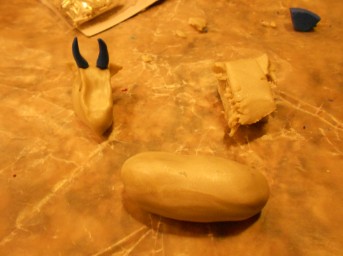
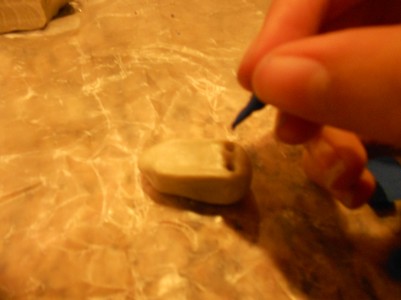 | Step 7 With your secondary color, make horns--cone shaped and pointed on BOTH ENDS. Stick one end into a hole. Do this for both horns. |
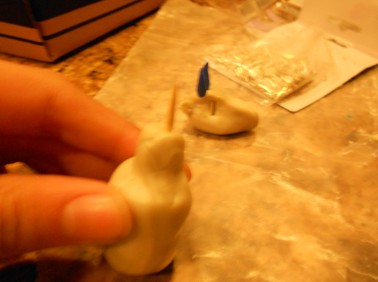
 | Step 8 Now, add ears. Make 2 thin, tear shapes from the clay and lightly fold the tip. Attach to the sides of the dragon's head. Smooth the backs with your fingertip so they don't break off. |
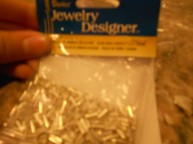  | Step 9 Get any kinds of beads you want for eyes. I used to use small, round ones; more recently I use this long, thin sort. Press the eyes in with your thumbnail. |
 | Step 10 Create a reasonably proportional body. Smooth out creases and lines with your finger. |
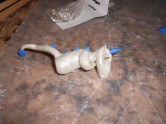
 | Step 11 Make a boxy kind of neck. Optional: break the toothpick you used earlier in half and insert it in the neck, pointy side up, then slide the head down--MAKE SURE THE TOOTHPICK DOESN'T COME THROUGH THE OTHER SIDE. The toothpick makes it more stable. Smooth the creases of neck and head together so it stays firm.  |
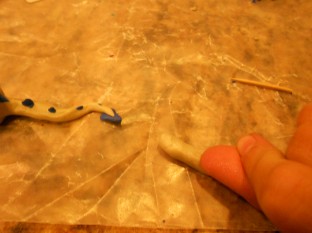
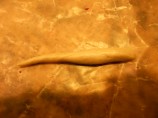  | Step 12 Now make a tail, a snakelike shape. Attach to body by smoothing the lines to make it stay, just like the ears/head and head/neck. |
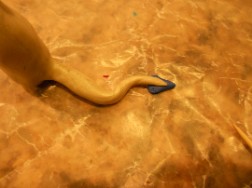 | Step 13 - Optional Create a triangle of your second or third color to make an arrowhead tail. |
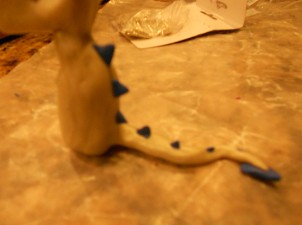 | Step 14 - Optional Like the arrowhead tail, make triangles to make spikes going down the back. Mine get smaller as they go down, which I prefer, but you can make yours whatever size you want. |
 | Step 15 Press a small cylindrical arm with your thumbnail. It should look like this: 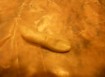 Now pinch fingers on:  |
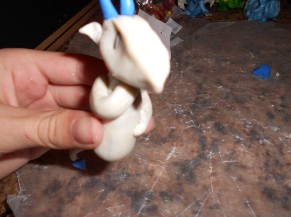 | Step 16 Arrange the arms how you'd like them. A hand under the chin does well to support the head. |
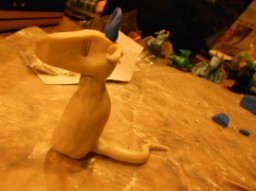
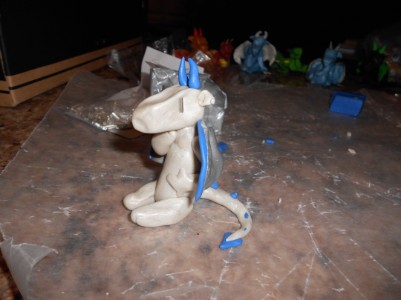
 | Progress shot. |
 | Step 17 Make legs. They're simple, just drumstick-shaped; it's like the dragon is sitting on its haunches. If you want toes, do them the way you did fingers. |
 | Step 18 Make wings! Here's one style I do, but there are other kinds I use as well. This is the simplest. 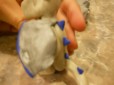 Attach wings carefully behind the shoulder blades. |
 | Step 19 The finished product! Now is the time to go over the whole dragon, smooth out any defects, reattach fallen spikes and ears and adjust bent horns. |
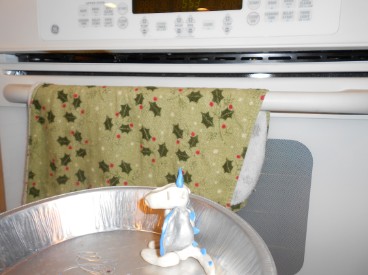 | Step 20 Congratulations. Your dragon is now ready to bake! For this kind of clay, I bake at 275 degrees Fahrenheit. If you used a different kind of clay, instructions for baking temperature should be on the side of the package. For this size dragon, I bake from 25 to 30 minutes. When the dragon first comes out of the oven, it might feel soft, but when it cools off it hardens. You have the option of applying glaze or leaving it as it is. I have glaze, but I have never added any because I'm afraid I'll mess up and ruin my dragon. You can be brave if you want though. Hope you liked my tutorial :) |